For many of us, a “rest period” usually involves one of two things: checking our phones or rushing straight into the next set to keep the heart rate up. However, the minutes spent between your pull-ups and dips are just as vital as the reps themselves.
In the world of sports science, this is known as inter-set recovery. This is the window where your body clears out metabolic waste and replenishes the cellular energy (ATP) required for the next effort. Rest too little, and your performance drops; rest too long, and you lose the “stimulus” and time efficiency of your session.
So, how do you find the “sweet spot” for your specific goals? We’ve looked at the latest physiological research to break down the ideal recovery times for park athletes.
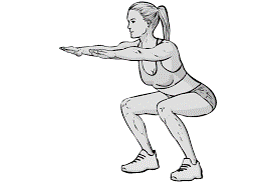
Resting for Muscle Growth (Hypertrophy)
If your goal is to build a more muscular physique, the traditional “gold standard” was always a strict two-minute rest. However, recent meta-analyses suggest we might have more flexibility than we thought.
Evidence indicates that 90 seconds (1.5 minutes) may be the optimal threshold for maximising gains. While resting for less than a minute can actually hinder muscle growth by preventing you from hitting enough volume in your subsequent sets, pushing past the three-minute mark doesn’t seem to offer much extra benefit for size.
The Park Gym Rule: If you’re short on time, a slightly shorter rest (around 60-90 seconds) is a great compromise. It keeps the session moving without sacrificing too much growth. A good internal cue is your performance: if you did 10 pull-ups in set one, but can only manage 4 in set two, you haven’t rested long enough. Aim for a drop-off of only 1 or 2 reps.
- Ideal Rest: 1.5 – 2 minutes.
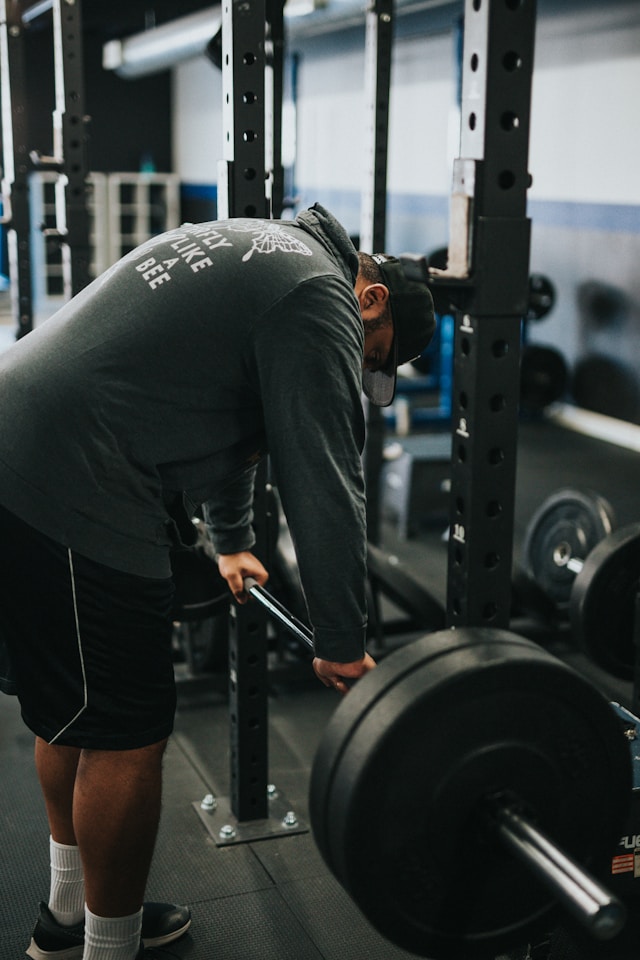
Resting for Maximum Strength and Power
When you are working on “Heavy” bodyweight moves—like Muscle-Ups, Front Levers, or Weighted Dips—your nervous system takes a much bigger hit than your muscles do.
Studies consistently show that 3 to 5 minutes of rest is superior for strength gains. This longer window allows the Central Nervous System (CNS) to fully reset, ensuring you can generate the maximal force required for those explosive or highly technical movements.
Even if you aren’t lifting heavy iron, these long rests are essential for high-skill calisthenics. Attempting a difficult skill while neurologically fatigued is a recipe for poor form and plateaus.
- Ideal Rest: 3 – 5 minutes (especially for “big” compound moves).
Resting for Muscular Endurance
If you are training for high-rep challenges or using a circuit-style format to “burn off” the holiday treats, your rest periods should be significantly tighter.
Research into endurance performance suggests that short-interval recovery—ranging from 20 seconds to one minute—is the most effective way to build stamina. By keeping the rest short, you teach your body to perform under the presence of fatigue and improve your “lactate threshold.”
This is the only time where “feeling the burn” and being out of breath is actually part of the intended training stimulus.
- Ideal Rest: 20 seconds – 1 minute.
Summary: Listen to Your Body
While the data gives us great benchmarks, the most important variable is individualisation. Factors like the temperature outside, your sleep quality, and the complexity of the exercise all play a role.
- For Size: 1-2 minutes.
- For Strength: 3-5 minutes.
- For Stamina: Under 60 seconds.
Next time you’re at the bars, keep an eye on the clock. Mastering your rest is the easiest way to stop “leaving gains on the table” and start seeing real progress.
How long do you usually wait between sets? Let us know your routine in the comments below.